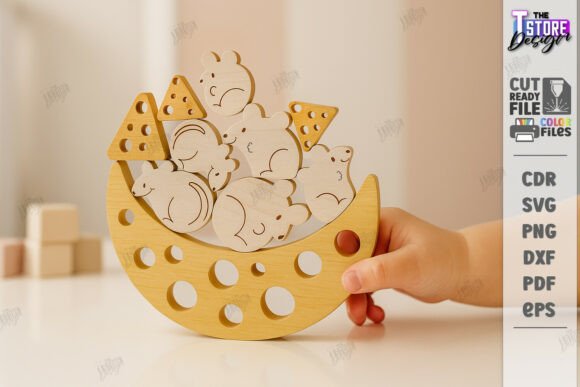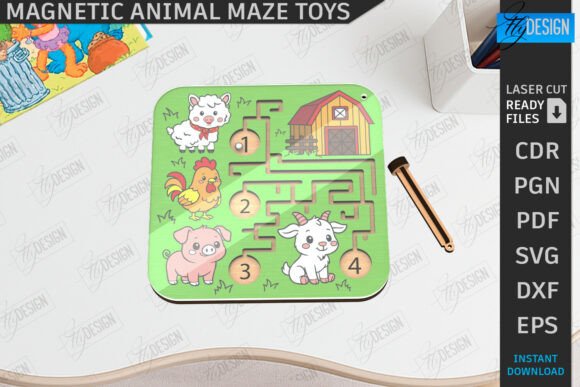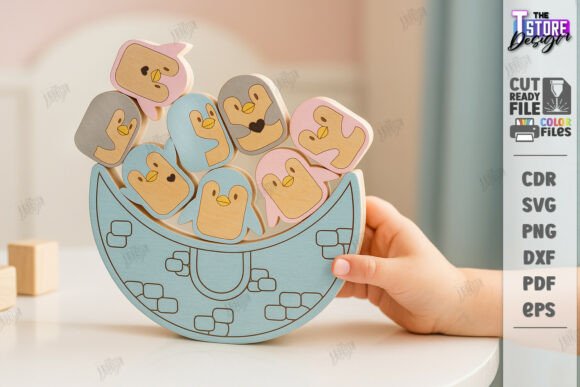
Pocket Wooden Maze Game Laser Cut CNC: A Practical Guide for Makers and Entrepreneurs
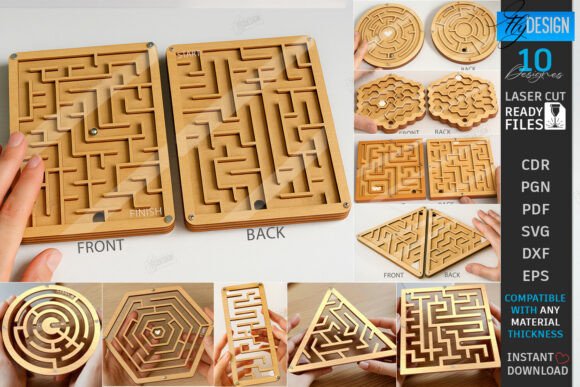
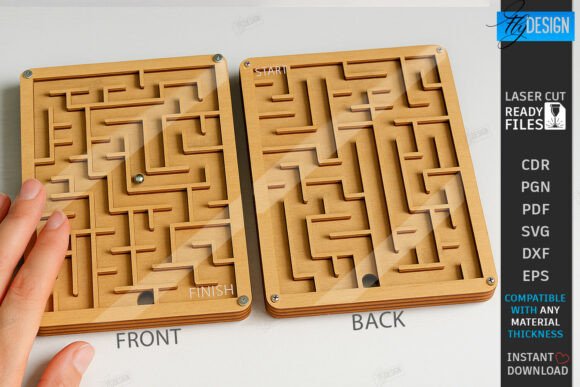
If you're exploring creative laser-cut projects that combine craftsmanship with play, the Pocket Wooden Maze Game Laser Cut CNC stands out as a compelling option. This downloadable design allows makers to produce a compact, handheld wooden maze game — a perfect blend of entertainment and Montessori-inspired learning. Whether you're a hobbyist, educator, or small business owner looking to expand your product line, this CNC file offers a versatile and rewarding project.
What makes the Pocket Wooden Maze Game Laser Cut CNC especially appealing is its balance of simplicity and functionality. The digital package includes multiple file formats — SVG, EPS, PNG, PDF, and DXF — making it compatible with various laser cutting machines and design software. However, while the design itself is user-friendly, there are several considerations and potential pitfalls that can affect your final product if overlooked.
Common Mistakes and How to Avoid Them
One of the most frequent issues users encounter involves file compatibility, especially when working with certain software like LightBurn. For example, SVG files — while widely used — can sometimes distort dimensions when imported into LightBurn, leading to inaccuracies in the final cut. This can result in misaligned maze paths or pieces that don't fit together properly.
Better approach: Stick with the DXF file format when using LightBurn. DXF files maintain dimensional integrity more reliably, ensuring your maze game pieces align perfectly every time. If you're unsure which file type to use, test each format at a small scale before committing to a full production run.
Choosing the Right Material Matters
Another often-overlooked factor is the choice of wood. While the design may look great on screen, the final product's functionality and durability depend heavily on the material used. Thin plywood or MDF might seem cost-effective, but they can warp or break easily, especially if the game is intended for children or frequent use.
Better approach: Opt for 3mm to 6mm Baltic birch plywood. It's durable, holds fine engravings well, and resists warping. Always test your laser settings on a scrap piece before cutting the final design to ensure clean, precise cuts and engravings.
Understanding the File Structure and Layers
The Pocket Wooden Maze Game Laser Cut CNC design includes both red lines for cutting and black lines for engraving. Misinterpreting these layers can lead to incomplete engravings or missing cuts, which may render the game unplayable or visually unappealing.
Better approach: Double-check your software's layer settings before starting the job. Assign the correct power and speed settings for each color-coded layer — red for cut lines, black for engraving. This ensures that the maze's pathways are both clearly defined and functional.
Scaling and Sizing: Don't Rush the Setup
Many users assume that the provided file will scale perfectly to any size without issues. However, resizing the design without considering the original proportions can lead to gameplay problems — such as a steel ball that's too large or too small for the maze path.
Better approach: Before resizing, confirm the diameter of the ball you plan to use and adjust the maze path width accordingly. Use vector editing software like Inkscape or Adobe Illustrator to scale proportionally and verify dimensions. If you're unsure, reach out to the file provider for assistance — many creators are happy to offer guidance or custom file versions.
Assembly and Finishing Touches
Once the pieces are cut, the next step is assembly. Some users underestimate the importance of sanding and finishing, which can leave rough edges that interfere with the ball's movement or create a less polished look.
Better approach: Lightly sand all edges and engraved surfaces before assembling. A quick coat of food-safe mineral oil or clear varnish enhances the wood grain and makes the game more durable. Ensure the maze is clean of any laser residue before closing it up — a soft brush or compressed air works well for this step.
Marketing and Customization Opportunities
If you're planning to sell the maze game, consider how customization can increase its appeal. Many buyers appreciate personalized touches like engraved names, logos, or themed designs.
Better approach: Use the included PNG file as a template for mockups or marketing materials. Offer customization options in your shop and clearly state the file's flexibility. If a customer requests a different size or format, don't hesitate to ask the file creator for support — many are open to providing updated versions upon request.
Final Checks Before Production
Before diving into full-scale production, take a few minutes to verify the following:
- File format: Use DXF in LightBurn to avoid scaling issues.
- Material thickness: Confirm it matches the design's intended specs.
- Laser settings: Test on scrap material to ensure clean cuts and engravings.
- Maze functionality: Assemble a test unit to check ball movement and overall playability.
By taking these steps, you'll not only save time and materials but also ensure a higher-quality end product that delights your customers or serves your educational goals effectively.
Conclusion and Next Steps
The Pocket Wooden Maze Game Laser Cut CNC offers a fun and engaging project for laser cutting enthusiasts at all levels. Whether you're crafting for personal enjoyment, educational purposes, or resale, attention to detail during setup and execution will make all the difference. By avoiding common mistakes and following best practices, you can create a polished, functional maze game that stands out in both form and function.
If you have any questions about file formats, customization, or material choices, don't hesitate to reach out to the creator. And if you're enjoying the process, consider following the creator's shop for updates on new designs and project ideas. Happy making!